
If you love baseball or softball, having a batting cage at home can be a game-changer. It allows you to practice anytime without heading to a field or waiting for open hours at a local training facility. Setting up a complete batting cage packages for backyard and team training might seem complicated, but with the right steps and materials, you can get a complete setup in your yard quickly. Here’s a simple guide to help you get started.
Step 1: Choose the Right Location
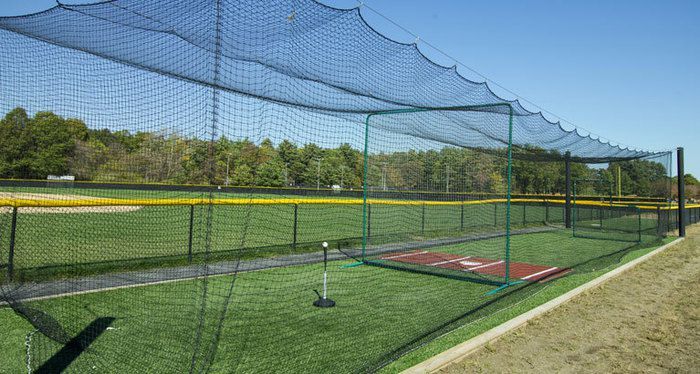
The first step is picking the perfect spot in your yard. Look for a flat area with enough space for swinging, pitching, and ball travel. Ideally, your cage should be at least 10-12 feet wide and 35-50 feet long, depending on the type of practice you want. Make sure there are no obstacles like trees, fences, or overhead wires that could interfere with your swing or the ball’s trajectory.
Also, consider the surface. Grass is fine, but a level dirt or turf area is better for stability and reduces the risk of injury.
Step 2: Decide on the Frame
A strong frame is the backbone of any batting cage. You can build one from PVC pipes, metal tubing, or pre-made kits available online. PVC is lightweight, inexpensive, and easy to assemble, making it a great option for DIY setups. Metal frames are more durable and withstand strong winds, but they require more effort to install.
Measure your area carefully and cut the pipes or tubes to fit the length, width, and height you want. Most cages are around 8-10 feet high to allow for full swings and high balls.
Step 3: Choose the Right Netting
Netting is essential to keep balls contained and prevent damage. Look for heavy-duty nylon or polyethylene nets designed specifically for batting cages. Nets with a mesh size of 1.5-2 inches work best for baseballs and softballs.
Attach the netting securely to your frame using zip ties, bungee cords, or rope, ensuring there are no gaps where balls could escape. Make sure the net is tight enough to stop balls without sagging.
Step 4: Add a Pitcher or Ball Feeder
To practice effectively, you need a consistent way to deliver balls. You can either use a pitching machine or have someone pitch manually. Pitching machines allow you to practice different speeds, angles, and pitches without tiring a partner.
If using a machine, position it at a safe distance from the hitter—typically around 35-40 feet for baseball and 25-30 feet for softball. Make sure it’s stable and secure so it doesn’t tip over during use.
Step 5: Safety First
Safety should be your top priority. Place padding around the frame if it’s made of metal or hard PVC. Ensure the area around the cage is clear of people, pets, or breakable objects. Always wear a helmet while batting, and consider gloves to protect your hands.
Step 6: Optional Additions
Once the basic setup is done, you can add features to make practice more enjoyable and effective:
- Backstop netting to catch stray balls behind the hitter.
- Lighting for evening practice.
- Targets on the net for accuracy drills.
- Protective turf or mats for a stable hitting surface.
Step 7: Maintenance
A batting cage is an investment, so keep it in good condition. Check the net regularly for tears, make sure all fasteners are tight, and store the net or machine indoors during extreme weather to extend its lifespan.
Final Thoughts
Setting up a complete batting cage in your yard doesn’t have to be complicated. By choosing the right location, frame, and netting, and adding a pitching system, you can have a functional practice space in a short time. With safety in mind and a few optional extras, your backyard can become the perfect training ground for improving your swing, accuracy, and overall game.


